To identify and fix leaks in your car’s cooling system, start by inspecting the radiator, hoses, and clamps for cracks, corrosion, or wet spots, which indicate hidden leaks. Check the radiator cap for damage and monitor for steam or a sweet odor during engine operation. If you find minor leaks, tighten loose hose connections or use a commercial radiator sealant as a temporary fix. Replace damaged hoses with high-quality parts for optimal performance. Routine checks on coolant levels help you catch reoccurring leaks early. For deeper insights into the various sources and repair techniques, you won’t want to miss the next steps.
Key Takeaways
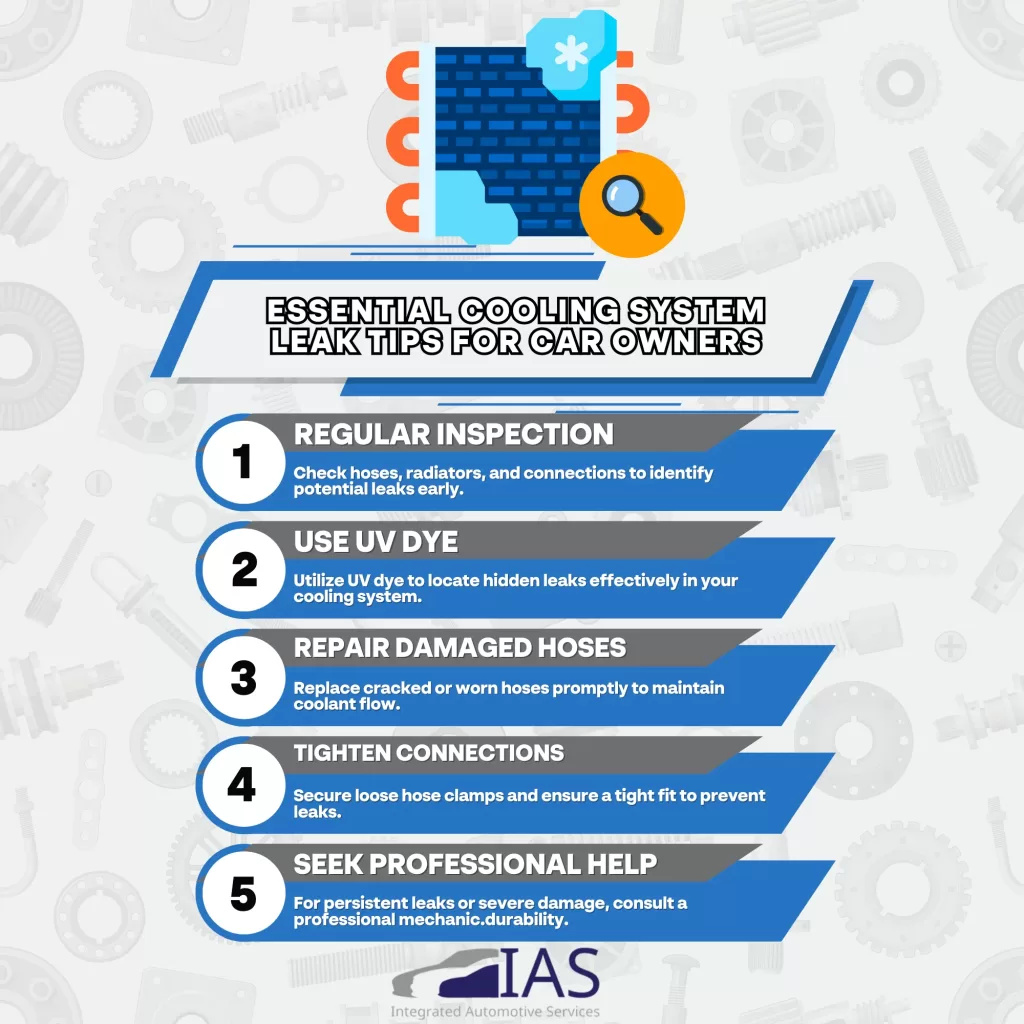
- Regularly inspect hoses, radiator, and connections for wear or leaks to identify potential issues early.
- Use UV dye in the cooling system to help locate hidden leaks with a UV light.
- Tighten loose hose connections and replace damaged hoses with high-quality parts to fix minor leaks.
- Apply commercial radiator sealant for small leaks, following the manufacturer’s instructions carefully.
- Seek professional help if leaks persist or if damage is suspected, ensuring thorough inspection and repair.
Understanding Coolant Leaks
Understanding coolant leaks is fundamental for maintaining your vehicle’s health. These leaks can lead to overheating, engine damage, and costly repairs if not addressed swiftly. When you notice a puddle of coolant under your car or your temperature gauge rising, it’s imperative to act quickly. First, you need to identify the source of the leak, which can originate from various components like hoses, the radiator, or the water pump.
To fix a coolant leak, start by inspecting the cooling system for visible cracks or loose connections. Check the hoses for wear and tear. If you find any damaged parts, replace them as soon as possible. Next, look at the radiator for signs of corrosion or punctures. You may need to use a radiator sealant as a temporary fix, but replacement is often the best long-term solution.
After addressing the leak, refill the coolant to the appropriate level. It’s crucialto monitor the system regularly for any new leaks. Remember, fixing coolant leaks isn’t just about adding fluid; it’s about ensuring the entire cooling system operates efficiently to protect your engine from overheating.
COMMON SOURCES OF COOLANT LEAKS
When diagnosing coolant leaks, it’s vital to take into account several common sources. A blown head gasket, damaged heater core, and cracked hoses are frequent culprits that can lead to significant issues. Loose connections and a broken radiator can also contribute to coolant loss, so inspecting these areas is necessary for proper maintenance.
1. A BLOWN HEAD GASKET
A blown head gasket is one of the more serious issues that can lead to coolant leaks in your car’s cooling system. When the gasket fails, coolant can escape into the engine’s cylinders, potentially causing severe damage. You might notice symptoms like overheating, white smoke from the exhaust, or a milky substance on your oil dipstick.
To identify if you have a blown head gasket, keep an eye out for:
- Erratic temperature gauge readings
- Unexplained loss of coolant with no visible leaks
- Bubbles in the radiator or coolant overflow tank
If you suspect a blown head gasket, it’s vital to address it urgently. Ignoring the problem can lead to more extensive engine damage and costly repairs. To fix a cooling system leak caused by a blown head gasket, you’ll need to replace the gasket and check the cylinder head for warping or cracks. This process involves removing the engine head, which can be labor-intensive.
Taking the car to a qualified mechanic is often the best course of action to guarantee a proper diagnosis and repair, as this isn’t a DIY fix for most car owners.
2. A DAMAGED HEATER CORE
Your vehicle’s heater core can be a hidden source of coolant leaks if it’s damaged. This component is vital for heating the cabin and is often overlooked when diagnosing cooling system issues. A damaged heater core can lead to coolant leaking into the passenger compartment, which may result in a sweet odor or damp carpets.
To identify a heater core leak, check for visible signs of coolant pooling under the dashboard or on the passenger side floor. If you notice your vehicle’s temperature gauge fluctuating or the heater not working efficiently, it could also be a sign of a failing heater core.
Repairing a damaged heater core often involves significant labor, as it typically requires removing the dashboard to access the unit. The cooling system leak repair cost for a heater core replacement can vary, ranging from $500 to $1,200, depending on your vehicle’s make and model. It’s important to address this issue quickly to prevent further damage to your cooling system and guarantee your vehicle operates efficiently. Regular inspections can help catch these leaks early, saving you time and money in the long run.
3. A CRACKED OR DAMAGED HOSE
Another common source of coolant leaks is a cracked or damaged hose. Hoses are vital components that transport coolant between the engine and radiator, and over time, they can degrade due to heat, pressure, and exposure to various elements. Identifying a damaged hose early can help you fix leaking coolant before it leads to more significant engine problems.
When inspecting hoses, pay attention to these signs:
- Cracks or splits: Look for visible cracks, especially where the hose bends or connects to fittings.
- Bulges or swellings: Uneven surfaces may indicate internal damage, which can lead to failure.
- Discoloration: Faded or brittle areas can signal deterioration, increasing the risk of leaks.
If you find a cracked or damaged hose, replacing it is typically the best solution. Ensure you use quality hoses that meet or exceed OEM specifications. Before installation, check the hose connections to guarantee a secure fit. By addressing hose issues promptly, you can maintain proper coolant flow and protect your engine from overheating. Regular maintenance can save you from costly repairs down the road.
4. LOOSE OR WORN-OUT HOSE CONNECTIONS
Loose or worn-out hose connections can cause significant coolant leaks, leading to engine overheating and damage. It’s important to regularly inspect these connections to guarantee they maintain a secure and tight fit. Over time, vibrations from the engine, temperature fluctuations, and exposure to environmental factors can result in hoses becoming loose or the clamps failing.
To identify potential issues, check the connections at both ends of the hoses for signs of coolant seepage or moisture. If you notice any dampness or a visible coolant trail, it’s a strong indication that the hose connection isn’t secure. Also, inspect the hose clamps for signs of corrosion or wear; these components are crucial for maintaining pressure within the cooling system.
If you discover loose or worn-out hose connections, you can often resolve the issue by tightening the clamps. In cases where the hoses themselves are degraded or damaged, replacing them is necessary to prevent future leaks. Regular maintenance of hose connections not only prolongs the life of your cooling system but also helps maintain peak engine performance. Address these issues swiftly to avoid more severe engine complications down the road.
5. A BROKEN RADIATOR
A broken radiator is a considerable source of coolant leaks that can lead to overheating and engine damage. You need to regularly check your radiator for signs of wear and tear, especially if you notice your vehicle’s temperature gauge rising unexpectedly. Identifying the problem early can save you from costly repairs down the road.
Common indicators of a broken radiator include:
- External cracks or damage: Physical damage can compromise the integrity of the radiator, leading to leaks.
- Corrosion buildup: Rust and corrosion can weaken the radiator’s material, causing leaks to develop over time.
- Persistent coolant puddles: If you find coolant pooling beneath your vehicle, it’s a clear sign of a radiator leak.
When it comes to fixing a broken radiator, costs can vary significantly. You might be wondering how much for coolant leak repair, and on average, expect to pay between $300 and $1,200 depending on the severity and location of the damage. Addressing these issues when they occur will not only save you money but also extend the lifespan of your vehicle.
Finding Coolant Leaks
Detecting coolant leaks is essential for maintaining your car’s performance and preventing costly engine damage. Start by visually inspecting the ground beneath your vehicle. If you notice a green, orange, or pink puddle, you might be dealing with a coolant leak. Next, check the radiator, hoses, and clamps for any visible signs of wear, cracks, or corrosion.
Use your hands to feel for wet spots along the hoses and connections, as these can indicate leaks that aren’t immediately visible. Pay special attention to the radiator cap; a loose or damaged cap can lead to coolant loss.
Another effective method for finding coolant leaks is to look for steam or a sweet odor while the engine runs. This can signal that coolant is escaping under pressure.
Also, consider using a [UV dye] specifically designed for detecting leaks. Add the dye to your cooling system, run the engine, and then use a UV light to spot any leaks. Remember, finding coolant leaks early can save you from more extensive repairs down the line, so make it a routine part of your vehicle maintenance.
Fixing Coolant Leaks
Once you’ve pinpointed the source of a coolant leak, it’s crucial to act quickly to prevent further damage to your engine. Fixing coolant leaks can often be a straightforward process, depending on the severity and location of the leak.
Here are some steps to guide you through the repair:
- Tighten Loose Connections: Check hoses and clamps for tightness. Sometimes, simply tightening these connections can resolve minor leaks.
- Replace Damaged Hoses: If you notice any cracks or wear on the coolant hoses, replace them immediately. Use high-quality hoses that meet your vehicle’s specifications.
- Seal Small Leaks: For small leaks in the radiator or other components, consider using a commercial radiator sealant. Follow the manufacturer’s instructions for proper application.
After completing these repairs, always monitor the coolant levels and inspect for any signs of leakage. If the problem persists or if you encounter significant damage, it might be best to consult a professional mechanic.
Frequently Asked Questions
How Often Should I Check My Car’s Coolant Levels?
You should check your car’s coolant levels at least once a month, especially before long trips. Regular checks help prevent overheating, guarantee efficient engine performance, and prolong the life of your cooling system components.
Can I Drive My Car With a Coolant Leak?
You shouldn’t drive your car with a coolant leak, as it risks overheating, causing severe engine damage. Address the leak promptly to guarantee safety.
What Are the Symptoms of a Failing Water Pump?
You’ll notice symptoms like coolant leaks, engine overheating, unusual noises from the engine, or a warning light on your dashboard. If these occur, it’s necesarry to address the water pump issue swiftly to prevent further damage.
Is It Safe to Use Stop-Leak Products?
Stop-leak products are a temporary patch, not a permanent fix. They might mask issues, but they can also clog passages. It’s safer to address leaks directly for long-term reliability.
How Can I Prevent Future Coolant Leaks?
To prevent future coolant leaks, regularly inspect hoses and connections for wear, maintain proper coolant levels, and replace old components proactively. Keeping your cooling system clean and serviced can also greatly reduce the risk of leaks.
Conclusion
Identifying and fixing leaks in your car’s cooling system is vital for maintaining engine health. For instance, if you notice your engine overheating on the highway, it could be due to a leaking radiator hose. By promptly locating the source and repairing it, you can prevent severe engine damage and costly repairs. Regularly checking your cooling system can save you time and money, ensuring a smooth ride every time you hit the road.